Ok so this is how you do a basic full nail design :) Its the same for the smaller little ones (flowers, stars, etc.) its just a little less messy for smaller designs.
What you need:
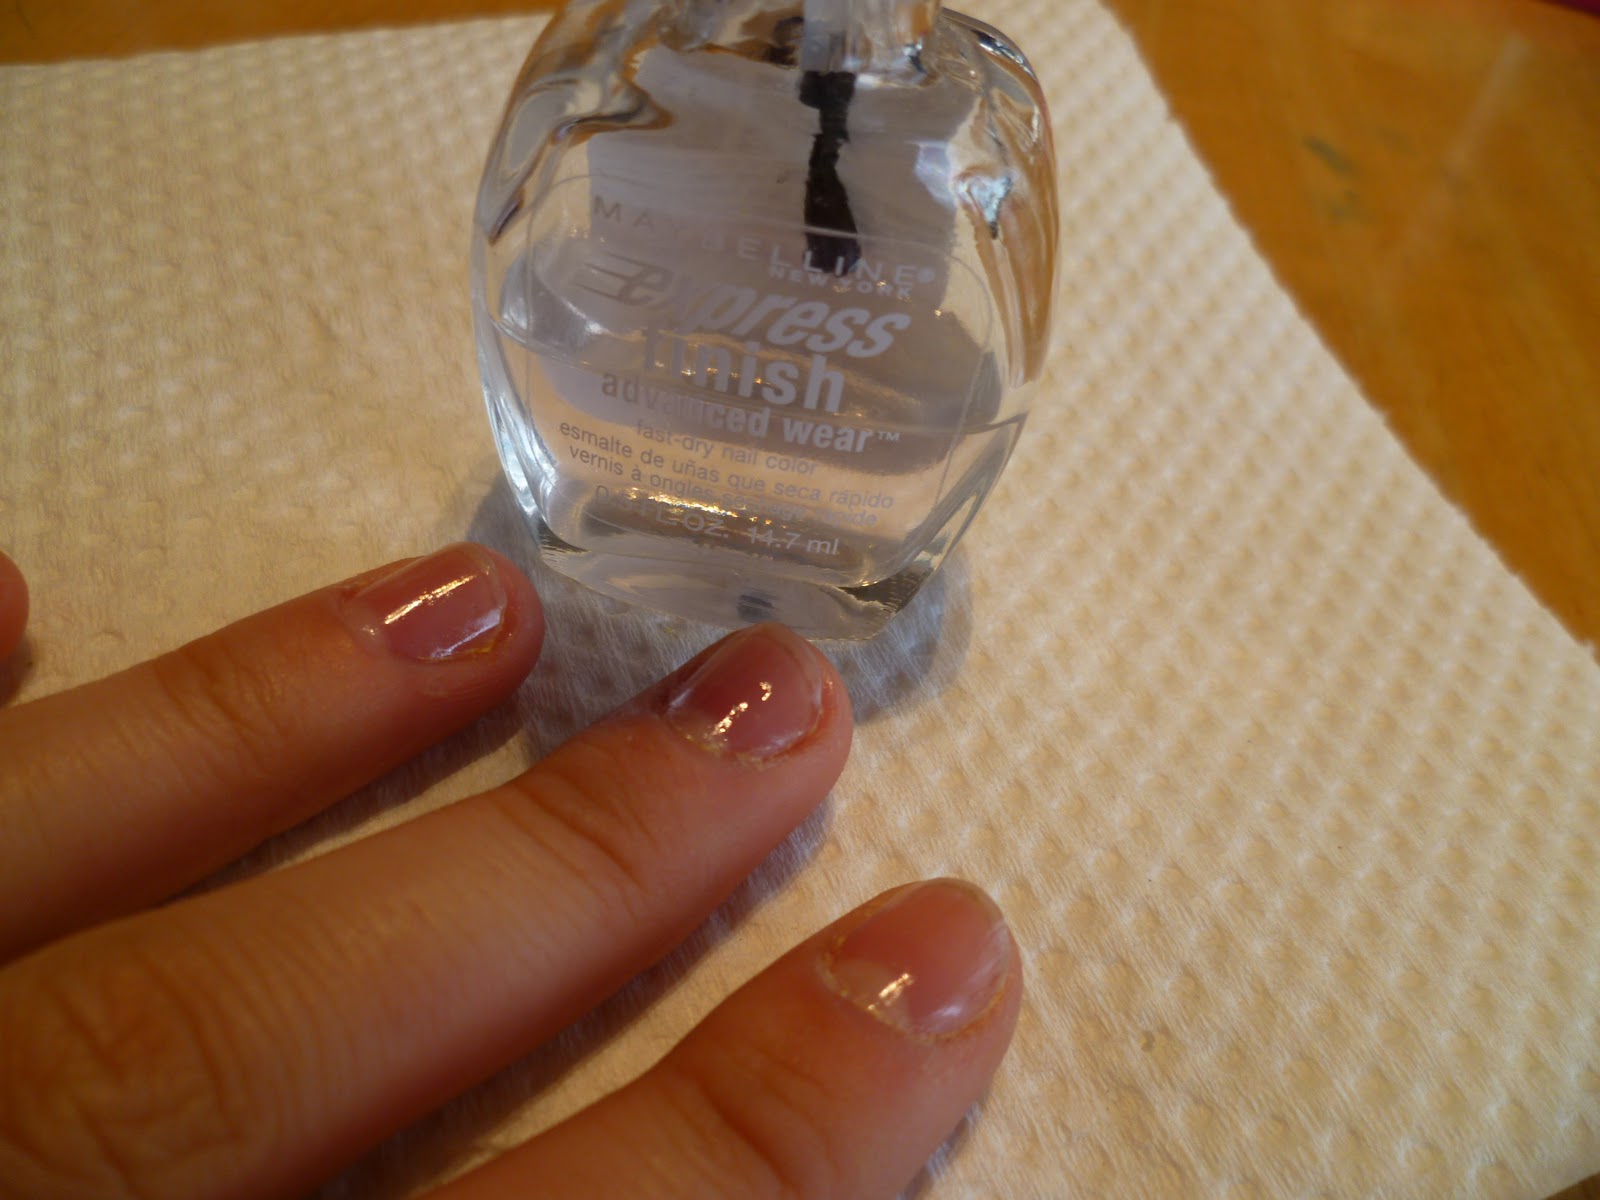
Base and top coat
Colour
Special Konad polish
Image plate
Stamper and scraper
Cotton swabs ad cotton pads/rounds
Nail polish remover (Without added nutrients and lotions in them)
Step 1:
Start off by cleaning both your stamper and scraper. If your stamper is brand new you may want to lightly buff it with a nail file to remove any film from the factory.
Remove any polish from nails with remover. Wash and dry your hands before you apply your base coat.
I used Maybelline express finish base & top coat 10 for mine. Depending on your base coat wait for a couple minutes until completely dry.
Step 2:
Now that your lovely top coat is completely dry, apply the first coat of your color with one stroke down the middle and then one down either side. I usually paint one hand at a time so I can still use the other one to text, take the pictures etc.
After dry, you can repeat as necessary. I used my brand new China Glaze Blue Sparrow (neon). The coats were very thin though so I ended up using 3 coats of the polish.
If you'd like, you can clean up any messes and excess polish around your fingers right now but if your using a full nail or french design, I recommend waiting until the end.
Make sure there isn't any old polish or dust sitting in the crevices of your IP (image plate). Take your special stmaping polish and depending on how you like to stamp you can put a medum sized glob at the beginning of the image or a slightly thin coat over the whole image.
Using the scraper, apply pressure and scrape at a 45 degree angle from left to right.
Very quickly, lightly roll the stamper over the plate to pick it up. Now line it up with your nail. Depending on how long your nails are may depend on whether you may need to double stamp or move on to the next finger.
A little sidenote about cleaning your stamp and scraper, I'd say your stamp and plate every 1-2 stamps depending on how intricate the design and how much polish starts drying on them. Definately clean your scraper whenever you change colours or after you finish your hand. It really depends on personal preferance.
Once your finished both hands, clean up any polish you don't want on your fingers and your stmaping supplies.
Here I used my favourite IP M57 and what I believe what is the pastel blue special polish.
Step 4:
As the special stmaping polish dries very quickly it may seem like you could just slather on some top coat and be ready to go.
STOP!
Even though it is dry and feels dry, I always run my hand under cold water before drying them off and waiting a few minutes because I find when your not using the Konad top coat it tends to smudge and blur more if you don't wait a couple minutes first.
A couple minutes later
Ok, so applying top coat with Konadicures is slightly different than just regular polish.
When applying topcoats I like running the brush on my nail quickly and barely using pressure. Use the same technique as the base and colour, one down the middle and then one down both sides.
I used one coat of Essie Good to Go but after I finish this post I think i'm going to add another coat.